The brick work had been already completed by Geoff !
This is the wall of the firebox and ash pit before adding the floor of the chamber. As you can see, we have now widened the chamber by inserting an additional brick
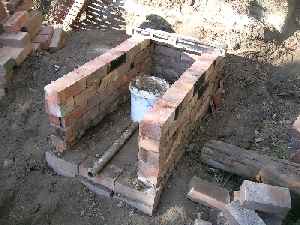
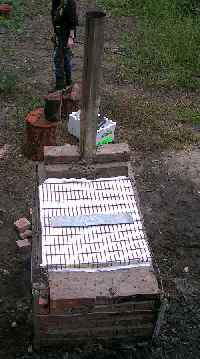
You can see that the floor of the chamber is now formed from old kiln shelves, which enabled us to span the extra width.
At the back, is the start of the chimney.
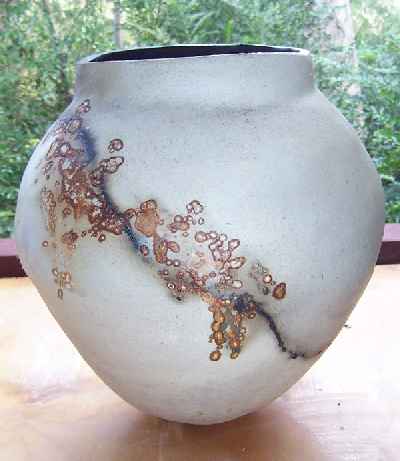
Finished!
Looking down on the roof, which we made from four thicknesses of ceramic fibre, backed by a piece of metal grating. Ceramic "buttons" were used to tie the fibre to the grating.
This enabled the whole roof to be easily lifted and allow the kiln to be loaded from the top
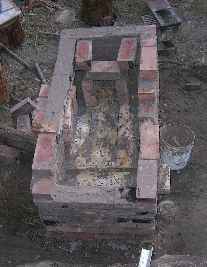
The chimney has been extended with a length of steel pipe, and, this time, we used fire clay, grogged with sand, to fill any gaps and cover the face of the bricks in the chamber.
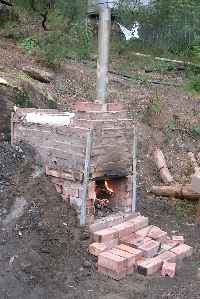
Firing up for the first time.
This time we used an old free standing grate in the firebox. In retrospect, this was rather too low, with not enough space below for the ash pit, and it would have been better if we had stood it on bricks.
Not sure however, if it will survive a second firing since it 'sagged' rather badly this time, so we may have to look at a different solution.
We started the firing at 2:30 in the afternoon and did the final stoking around 1:00 AM. By this time the chimney was really drawing with about 4 feet of red flame protruding from it.