|
|

This chapter describes how to install and remove the Catalyst 2900 series 10/100 and 100BaseFX modules.
These modules can be installed while the switch is running and require no configuration. A power-on self-test (POST) verifies that the module is running properly before any packets are forwarded.
You can manage module ports as you would fixed ports on the switch. The web-based Switch Manager is a graphical interface for monitoring and controlling port features, and you can use the console port or Telnet to access the Cisco IOS command-line interface.
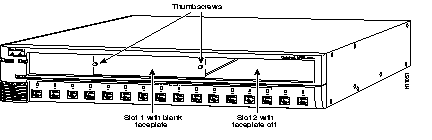
The switch expansion slots are number 1 (left) and 2 (right). You can install either of the modules into either slot. Blank faceplates on the Catalyst 2916M XL cover the slots, as shown in Figure 2-1.

| Caution When installing a 100BaseFX module, do not remove the rubber plugs from the fiber-optic port or the rubber caps from the fiber-optic cable until you are ready to connect the cable. The plugs and caps protect the fiber-optic port and cable from contamination and ambient light. |
To remove a faceplate, follow these steps:
Step 1 Loosen the thumbscrews attaching the faceplate to the switch.
Step 2 Remove the faceplate from the switch and store it for future use. Figure 2-1 shows a Catalyst 2916M XL with an empty expansion slot.
After you have removed the faceplate, follow these steps to install a module in the empty expansion slot.

| Warning Class 1 laser product. |
 | Warning Avoid exposure to the laser beam. |
Step 1 Slide the module into the slot card-guides until you feel it touch the back of the unit.
Step 2 Push the module firmly until it snaps into place.
Step 3 Tighten the thumbscrews on the module faceplate. The module begins running POST when the thumbscrews are tightened.
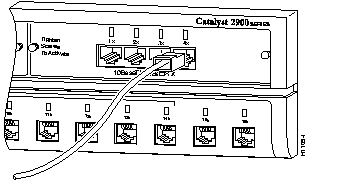
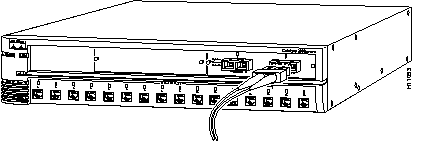
Insert a connector according to the type of module (100BaseFX or 10/100), as follows:
To remove a module, follow these steps:
Step 1 Disconnect the cable from the module port.
Step 2 Loosen the thumbscrews attaching the module faceplate to the switch.
Step 3 Remove the module by grasping the thumbscrews and pulling the module out of the slot.
Step 4 Replace the blank faceplate to cover the empty expansion slot.
Step 5 Tighten the thumbscrews on the faceplate.
When a module is inserted in the expansion slot, the port LEDs on the module turn amber. After the module thumbscrews are tightened, the LEDs turn off and then turn green. Starting from the left-most LED, the LEDs turn off in turn as POST completes successfully. When all the LEDs are off, the LEDs blink green and begin normal behavior.
If a module fails POST, the expansion slot LED (1 or 2) on the switch turns amber. All POST failures are fatal. Call Cisco Systems if a module fails POST.
|
|